 Printer-friendly PDF
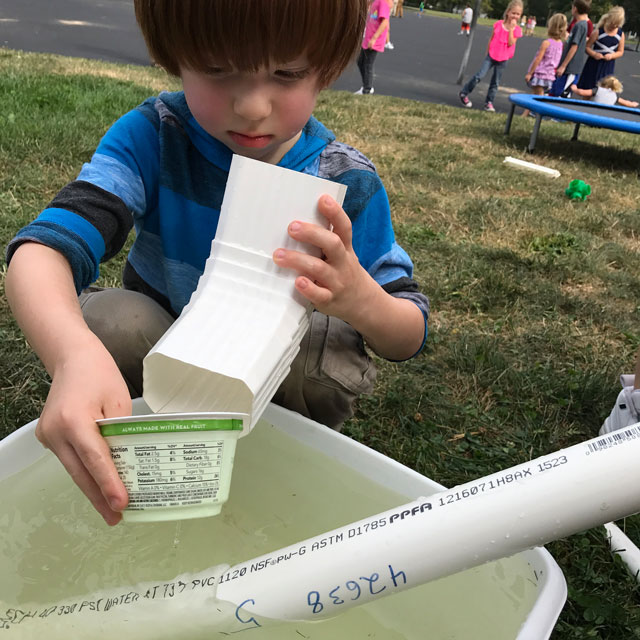
Kim Burd and Laura DeLuca
John L. Hensey Elementary School
Washington, IL
The Pipes Project took place in an inclusive early childhood classroom that holds two sessions each day; children attend only one session. The classroom also has an assistant teacher. The curriculum is play-based and experiential in nature. Topics of study are chosen based on children’s interests and individualized education plan (IEP) goals. Most children had experience with several prior investigations before beginning the study of pipes, which lasted about eight weeks. The children were familiar with discussing, making observations, sketching, and webbing.
Phase 1. Beginning the Project
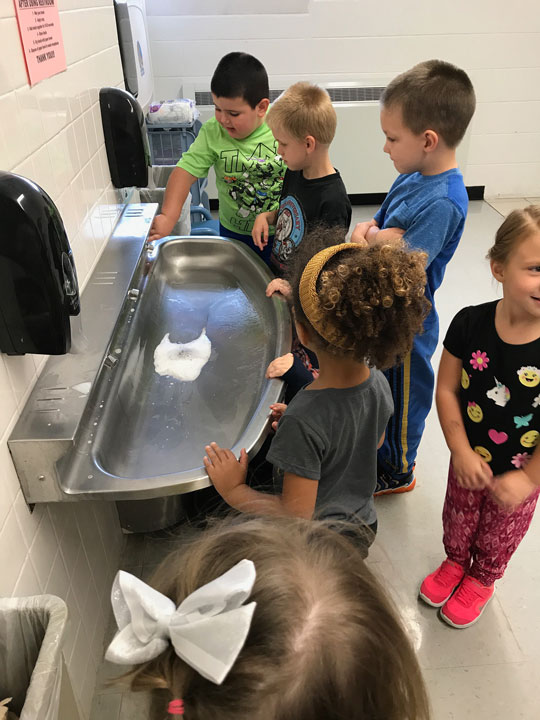
One morning, as the children arrived and lined up inside the halls, one boy looked under the small water fountain and was curious about where the water was going or coming from. Other children saw the boy lying on the ground looking under the fountain. They asked him what he was looking at under the fountain. More children took turns looking under the fountain and discussed where the water was going and coming from.
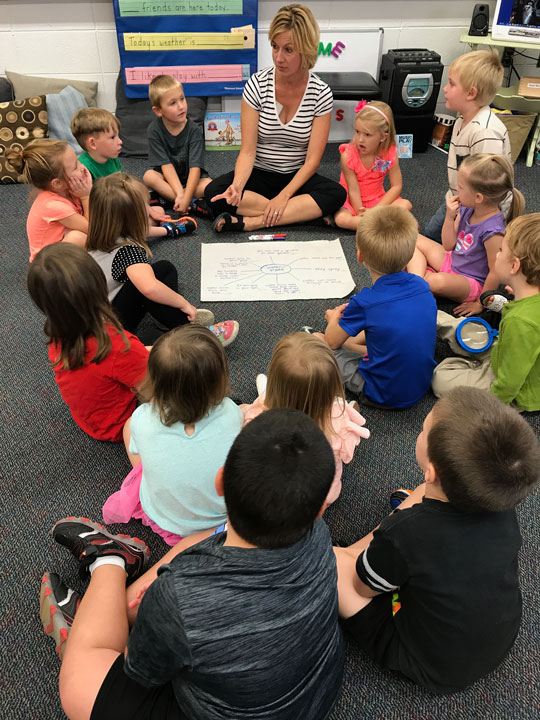
Later that morning and again in the afternoon, we began a web after walking around our hallway. We made observations of pipes and talked about where the water was going. The children shared that they knew about pipes from observing familiar places. They talked about the pipes they had seen in their homes, in the school, and around town.
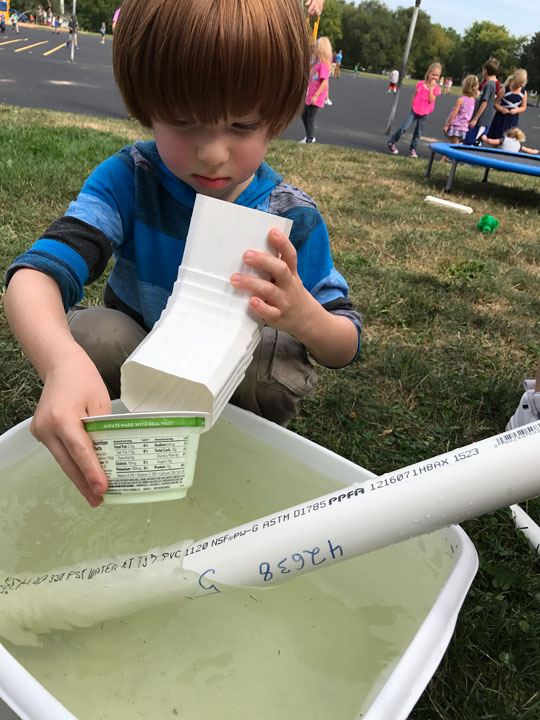
We provided water play experiences for the children to encourage their thinking about the pipes and where the water came from. They began to ask questions and hypothesize about where the water was coming from. We provided real pipes to play with and toy pieces so the children could build their own “water makers,” or water sources.

Phase 2: Developing the Project
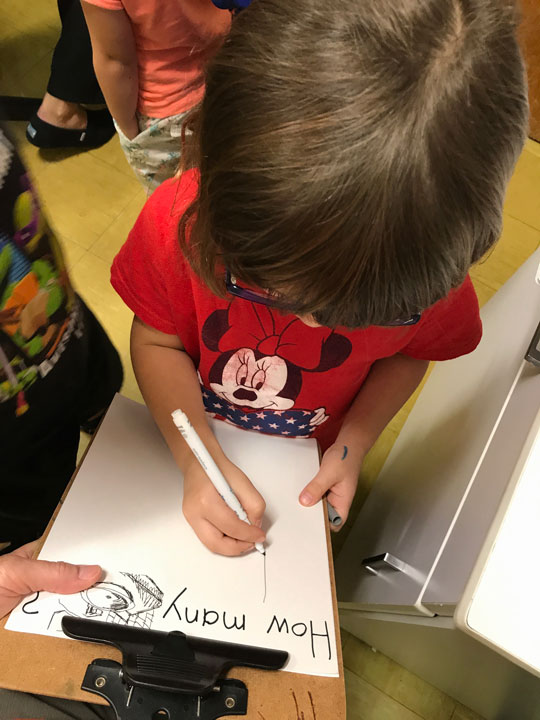
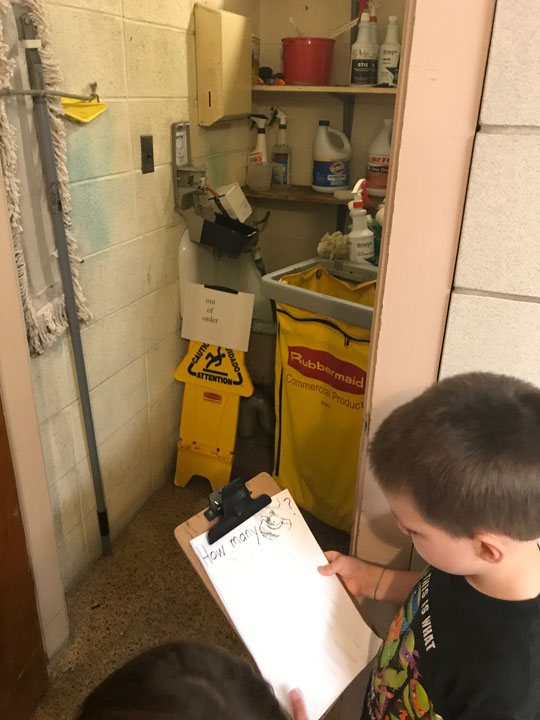
Throughout our conversation, the children kept asking: “What makes water?” We decided to find the “water makers” in our school first. The children completed surveys in teams. We predicted how many of each thing we might find in our school. The survey questions included:
- How many sinks?
- How many toilets?
- How many water fountains?
- How many urinals? (new vocabulary)
- Does the school have a bathtub?
- Does the school have a washing machine?
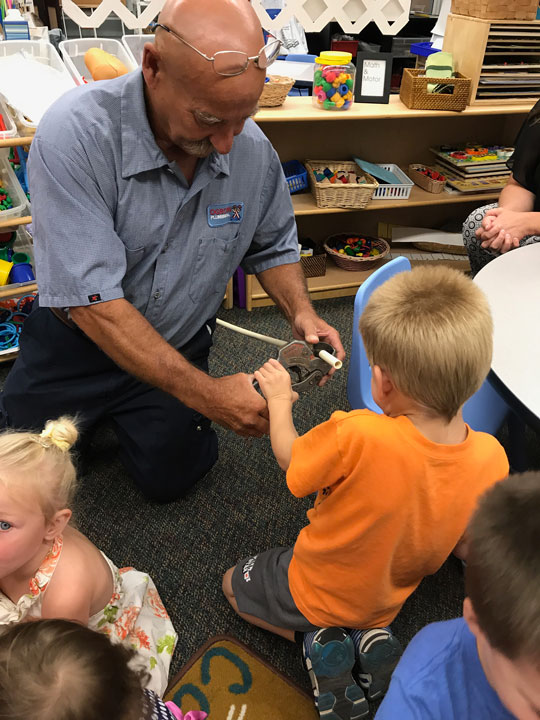
We sent a survey home about pipes and plumbing. We realized that we had fathers of children in our classes who were local plumbers. They visited as experts in our classrooms. We had prepared questions for the plumbers based on our investigation in our homes and around the school. We wrote down their answers and paired pictures with the answers to help explain where that water was coming from and where it was going.
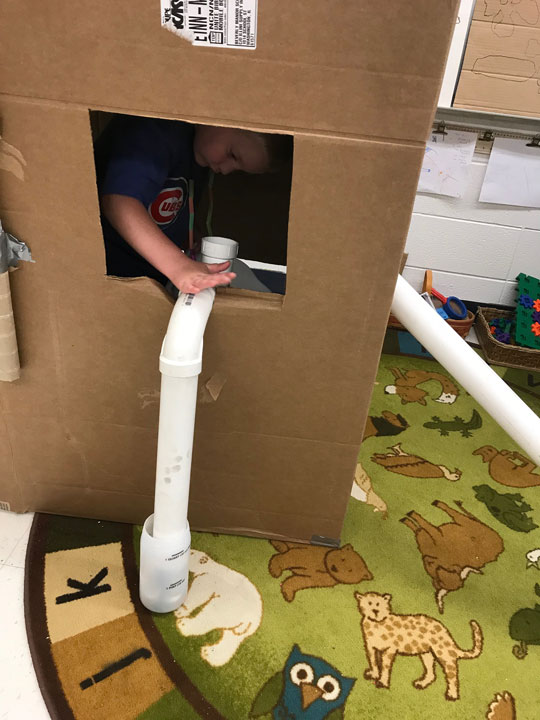
The children showed the plumbers what they had started building in the classroom with paper towel tubes and tape. They were impressed! The children were allowed to see, touch, and explore all the tools and materials that are on a plumber’s truck. The plumbers gave the children real materials (PVC pipes, plastic tubing, joints, and a faucet) for the cardboard house they had constructed so far. Our expert visitors also provided us with lots of new vocabulary about pipes and plumbing.
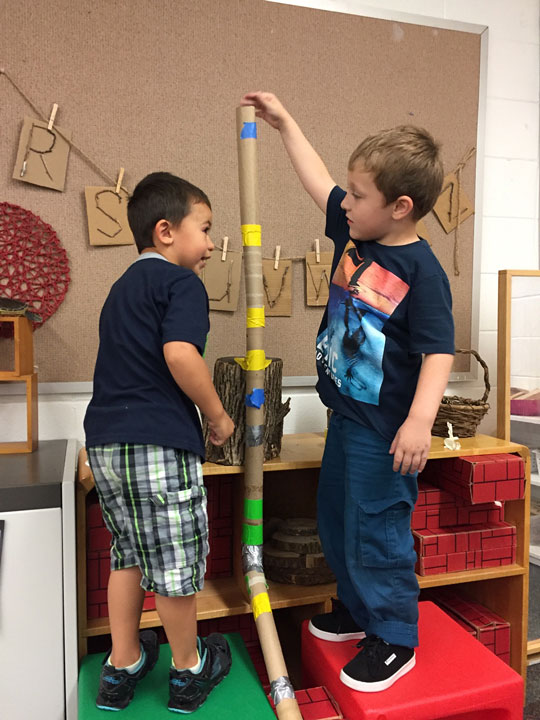
As the project continued, the children became most interested in constructing their own pipes and being able to run pretend water through them. We learned if we ran real water through our paper pipes they would fall apart. We looked throughout the classroom and discovered things in loose parts that might run through the pipes. Some worked and some got stuck. As the children added pipes to the cardboard house in the classroom, they learned some pipes they built were too long, too short, or too crooked and needed to be worked on so they would work.
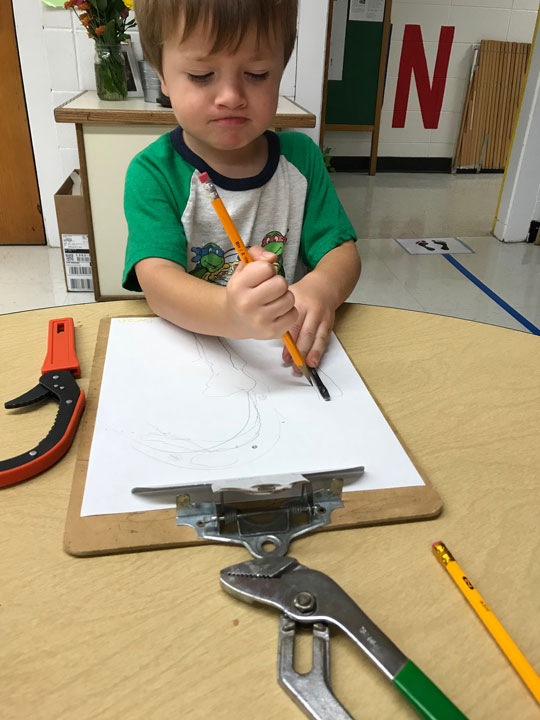
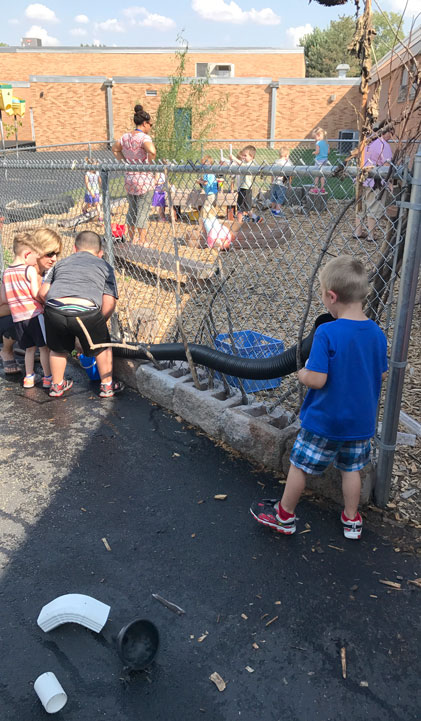
The children traced and drew colorful pipe designs. They also continued building outdoor water pipes. Some children designed and built pipe projects for the needs that emerged from their play. One boy constructed a shower and bath for his dog. Two other friends created a super tall pipe for their small balls to run through and go fast.

Phase 3: Concluding the Project
We returned to our initial web during the last week of the project. The first thing we noticed was how the children expanded their vocabulary about pipes and plumbing. We also realized that they could speak about the topic using more complex sentence structures and could talk about the topic for an extended period of time together at a group meeting.
A final surprise for the children came when the plumber installed a sink in our outdoor classroom.

Teacher Reflection
We loved how authentically this project emerged. We remember our teaching teams just watching the wonder around the water fountain that day, then looking at each other and nodding . . . “we have an interest!” Enthusiasm continued as we noted how our school was full of pipes and then investigated our building for “water makers.” We were also really fortunate to have connections to plumbing experts who helped extend our learning and add artifacts to our environment.
Children were eager to share their learning with friends throughout the project. After conducting a survey or tally, children were invited to report back to the group about their findings. It created a lovely communication opportunity and often solidified critical skills in number relations, communication, or literacy. The “pipe house” also was a fun way to let all levels of investigators practice different skills. Some children conducted the construction, some problem solved, and some added to the design. Others practiced things they knew how to do such as drop objects down pipes or cut tubes or tape.
To share our Pipe Project with our families, we created two binders, one for the morning class and one for the afternoon class, to showcase our learning. The binders included lots of pictures, surveys, tracings and drawings, language samples, stories from our play, research from our experts, and a list of all those things we wondered about the pipes around us.
The project memory books we made to culminate our project learning were an effective way to share documentation with families. These books were able to pass from home to home in a take-home bag, and children were able to recall events and discuss their experiences with their families. Sharing the books made a meaningful but quiet close to the project as opposed to a large celebration event or construction display.
 Printer-friendly PDF